The Woffice theme comes with an integrated Time Tracking widget. The widget can be used to track and log time taken by users to execute a task within a website.
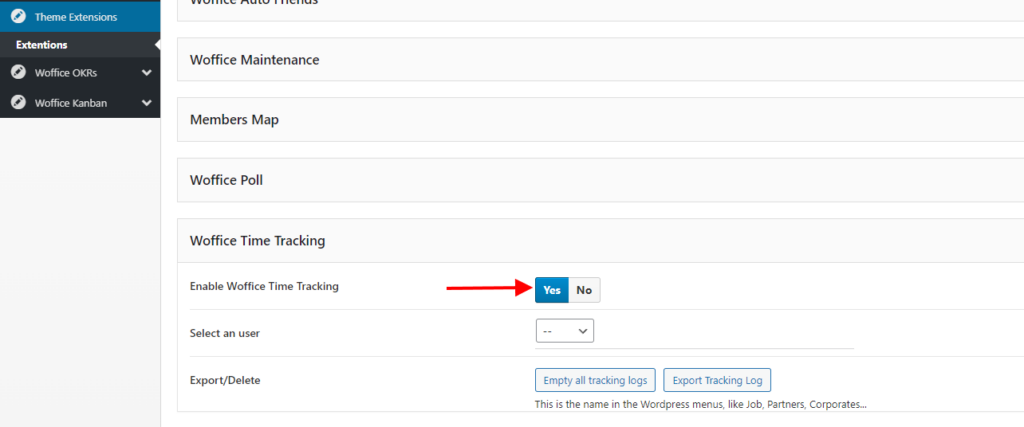
In order to utilize the Time Tracking widget, you need to first ensure that you activate the Woffice Time Tracking extension from the Appearance > Woffice Theming Options > Extensions section:

Upon activating the extension, you can select a user of whom you will track his time within the “Select a user” field. You can also leave this field blank if you would want to have only general tracking.
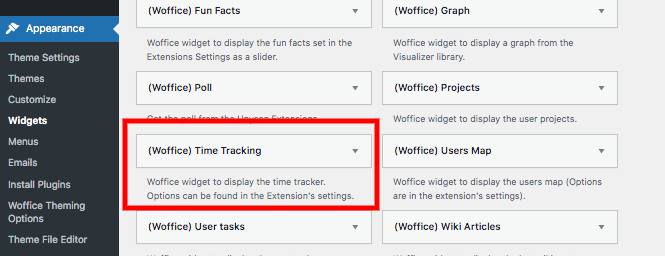
Next, navigate to the Appearance > Widgets section within your WordPress dashboard and here you can have a view of the Woffice Time Tracking widget.

You can then add the widget to the widget section you wish to have the widget rendered.
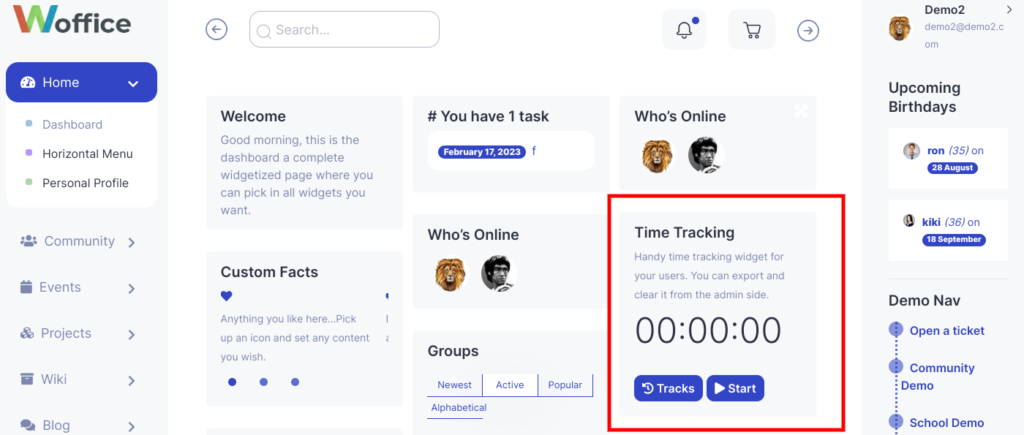
Below is a sample output upon adding the widget to the home page:

Time Tracking
In order to track the time, one will need to:
- Click on the “Start” button within the widget
- On the prompt rendered, add the title of what you are working on
- Click the Go button to begin tracking
After clicking on the Go button, the tracking will start. To stop it, click on the stop button.
Exporting the Tracking Log
Upon completion of tracking, the admin can view the tracking log upon exporting the log. In order to do so:
- Navigate to the Appearance > Woffice Theming Options > Extensions > Woffice Time Tracking section within the WordPress dashboard
- Click on the “Export Tracking Log” or “Export All Tracking Logs” if you want to export logs for all users.


